What Is A Wallet Photo Size? The Ultimate Guide You've Been Searching For
Let’s get real here, folks. Have you ever found yourself scratching your head wondering, “What exactly is a wallet photo size?” Don’t worry, you’re not alone. Whether you’re preparing for a passport application, creating custom gifts, or just trying to organize your photo albums, understanding wallet photo sizes is a game-changer. So, buckle up, because we’re diving deep into this topic and breaking it down in a way that’s as easy as pie.
Nowadays, with all the tech floating around, it’s easy to get lost in the digital maze. But sometimes, you just need that physical copy of a picture, right? Maybe it’s for an ID card, a driver’s license, or even a little keepsake. Whatever the reason, knowing the wallet photo size will save you from those frustrating last-minute trips to the print shop.
Before we jump into the nitty-gritty, let me just say this: wallet photo size isn’t as complicated as it seems. In fact, it’s pretty straightforward once you’ve got the basics down. So, whether you’re a photography enthusiast, a DIY guru, or just someone who wants to avoid printing disasters, this guide has got you covered. Let’s roll!
- Dana Whites Sister Kelly White The Untold Story Of Ufcs Family Dynasty
- Deephotling The Ultimate Guide To Unlocking Its Potential
Understanding Wallet Photo Size: The Basics
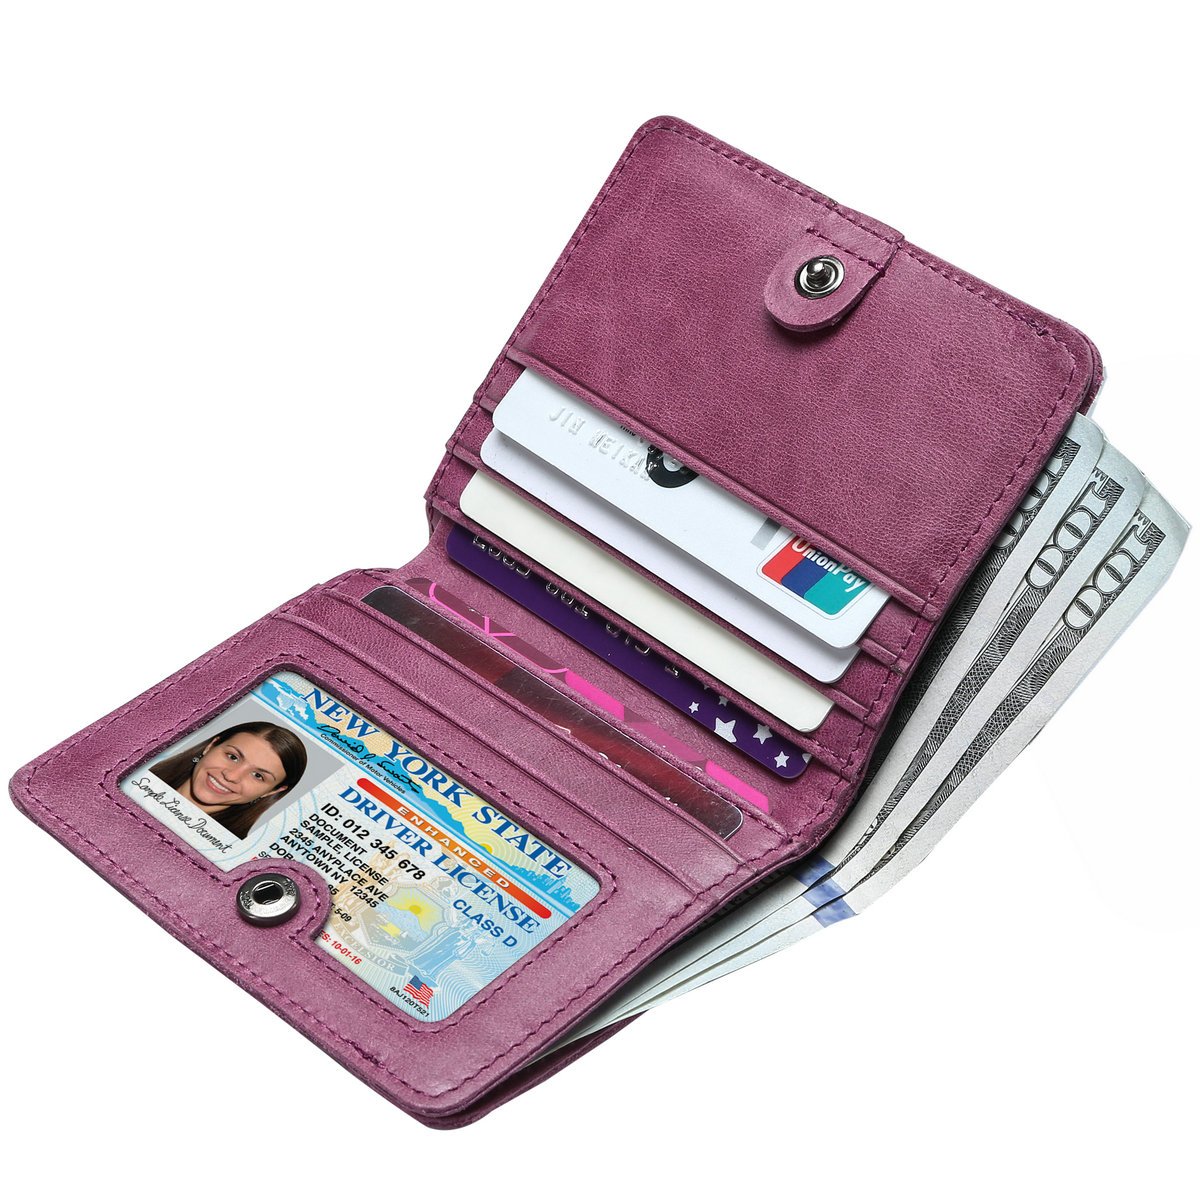
Alright, first things first. What exactly is a wallet photo size? Simply put, it’s a standardized size for small photographs that are typically used for identification purposes or keepsakes. These tiny yet mighty pics are designed to fit snugly into wallets, hence the name. But don’t let their size fool you—they pack a punch when it comes to utility.
Wallet photos usually come in three common sizes: 2x2 inches, 2x3 inches, and 4x6 inches. Each of these has its own use case, so it’s important to know which one you need before hitting the print button. For instance, a 2x2 inch photo is perfect for passports and visas, while a 4x6 inch print is great for sharing memories with friends and family.
Why Wallet Photo Size Matters
Here’s the deal: wallet photo size isn’t just about convenience. It’s about ensuring that your photos meet the requirements for various applications. Think about it—if you submit a photo that’s too big or too small, it could delay your application process. Nobody’s got time for that, right?
- Katty Kay Ex Husband The Untold Story You Need To Know
- Jenny Howarth Husband The Untold Story Of Love And Life
- Wallet photos are standardized to ensure consistency across different platforms.
- They’re easy to store and transport, making them ideal for everyday use.
- Knowing the correct size helps you avoid unnecessary costs and wasted time.
And hey, let’s not forget the sentimental value. Wallet photos are perfect for capturing those precious moments that you want to carry with you wherever you go. Whether it’s a picture of your kids, your partner, or even your furry best friend, these little gems are worth their weight in gold.
Common Wallet Photo Sizes: A Closer Look
Now that we’ve covered the basics, let’s take a closer look at the most common wallet photo sizes. Trust me, this info is gonna come in handy the next time you’re planning a trip or organizing a family album.
2x2 Inches
This little guy is the go-to size for passport photos, visas, and other official documents. It’s small, but it packs a punch when it comes to detail. Most governments require this size for identification purposes, so it’s always good to have a few extras on hand.
2x3 Inches
If you’re looking for something slightly bigger than a passport photo, the 2x3 inch size is your best bet. It’s often used for school ID cards, employee badges, and even social media profiles. Plus, it’s just the right size to tuck into your wallet without taking up too much space.
4x6 Inches
Ah, the classic 4x6 inch print. This is the size you’ll want for sharing photos with loved ones or creating a scrapbook. It’s big enough to show off those beautiful memories, but still small enough to fit into a photo frame. Win-win!
How to Choose the Right Wallet Photo Size
Picking the right wallet photo size can be a bit overwhelming, especially if you’re not familiar with the lingo. But fear not, my friend. Here’s a quick guide to help you make the right choice:
- For official documents: Stick with the 2x2 inch size. It’s the safest bet and will save you from any headaches down the line.
- For everyday use: The 2x3 inch size is perfect for IDs, badges, and other personal items.
- For sharing memories: Go with the 4x6 inch size. It’s the ideal choice for capturing those special moments.
And remember, always double-check the requirements before printing. Trust me, it’ll save you a ton of hassle in the long run.
Printing Wallet Photos: Tips and Tricks
Once you’ve figured out the right size, it’s time to hit the print button. But wait—there are a few things you should keep in mind to ensure your prints come out looking their best.
Choose the Right Paper
Not all paper is created equal, especially when it comes to printing photos. For wallet-sized prints, you’ll want to use high-quality photo paper. This will give your pics that professional finish they deserve.
Adjust Your Settings
Before printing, make sure your printer settings are dialed in. You’ll want to set the resolution to at least 300 DPI (dots per inch) to ensure crisp, clear prints. And don’t forget to check the color settings—nothing ruins a good photo like washed-out colors.
Proofread Your Work
This might sound obvious, but you’d be surprised how many people skip this step. Take a moment to review your photos before printing. Check for things like crooked angles, blurry spots, or unwanted shadows. Trust me, your future self will thank you.
DIY Wallet Photos: Can You Do It Yourself?
With all the tech available today, you might be wondering if you can print wallet photos at home. The answer is a resounding yes! With the right tools and a little know-how, you can create professional-quality prints from the comfort of your own home.
Here’s what you’ll need:
- A decent printer with photo capabilities
- High-quality photo paper
- Photo editing software (optional but highly recommended)
And here’s the best part: printing at home can save you a ton of money in the long run. Plus, you’ll have the satisfaction of knowing that you created something awesome with your own two hands.
Common Mistakes to Avoid
Now that we’ve covered the basics, let’s talk about some common mistakes to avoid when working with wallet photo sizes.
1. Ignoring the Specs
One of the biggest mistakes people make is ignoring the specifications. Whether it’s the size, resolution, or orientation, these details matter. Always double-check the requirements before printing to avoid any unpleasant surprises.
2. Using Low-Quality Paper
Cheap paper might seem like a good idea at first, but trust me, it’s not worth it. Low-quality paper can cause your prints to fade, smudge, or even tear. Invest in good paper—it’ll make a world of difference.
3. Skipping the Editing Step
Editing your photos before printing might seem like an extra step, but it’s one that can make or break your final product. Take the time to adjust the brightness, contrast, and colors to ensure your prints look their best.
Where to Print Wallet Photos
If DIY isn’t your thing, don’t worry. There are plenty of places where you can get wallet photos printed professionally. Here are a few options to consider:
- Local print shops
- Online printing services
- Drugstores and supermarkets with photo printing services
Each option has its own pros and cons, so it’s important to do your research before making a decision. And hey, if you’re in a rush, some places even offer same-day printing. How cool is that?
Final Thoughts: Your Wallet Photo Journey
Well, there you have it, folks. A comprehensive guide to wallet photo sizes that should answer all your burning questions. Whether you’re printing for official documents, personal use, or just for fun, understanding wallet photo sizes is a skill that’ll serve you well in life.
So, what’s the next step? If you’ve found this guide helpful, feel free to share it with your friends and family. And if you have any questions or comments, drop them below—I’d love to hear from you. Until next time, happy printing!
Oh, and before you go, don’t forget to check out some of our other articles. You never know what you might learn!
Table of Contents
- Understanding Wallet Photo Size: The Basics
- Why Wallet Photo Size Matters
- Common Wallet Photo Sizes: A Closer Look
- How to Choose the Right Wallet Photo Size
- Printing Wallet Photos: Tips and Tricks
- DIY Wallet Photos: Can You Do It Yourself?
- Common Mistakes to Avoid
- Where to Print Wallet Photos
- Final Thoughts: Your Wallet Photo Journey
- Deephotlinkcom The Ultimate Guide To Unlocking Its Potential
- Abby And Brittany Hensel Sad News A Heartfelt Journey Through Lifersquos Challenges
Wallet Size Dimensions Literacy Basics
Wallet Size Photo Dimensions IQS Executive

Wallet Size Picture Dimension
